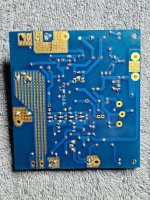
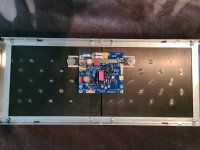
Yet Another Aleph J Build

Member
Joined 2023
It was suggested that it might be worthwhile posting my experience as a Guinea Pig ;), but first a BIG THANKS to all who have made this project possible! The level of professionalism and dedication exhibited should be an example to other companies, especially those in the retail segment.

So far my build is moving along nicely, pic to follow, but I wanted to mention a couple of things that I have discovered. First off, though I am using Kester solder w/ rosin, I still prefer the look of the finished product more when flux has been added. In general I'm finding that the less flux the better, it is still a PIA to clean off.

For those who are having difficulties getting some components to line up nicely, things like LEDs, Jumpers etc. I find that putting the slightest touch of solder on 1 hole, heating it and inserting a leg, with LEDs obviously the long leg, till it is properly aligned, solder the other hole then touching up the first joint.
20240326_132405 (FILEminimizer).jpg
 
  • Like
Reactions: 1 users
Member
Joined 2023
Currently using Chemtronics, 90% Alcohol and distilled water rinse. Wonder how the Chemtronics compares to acetone as far as noxious chemicals?
 
Member
Joined 2023
Making slow but steady progress, PNP/NPN transistors installed. With these 3 legged components I use the previously mentioned method , but cut the leg with the pre-soldered pad, a skosh shorter than the other 2.

20240326_145507 (FILEminimizer).jpg
 
Official Court Jester
Joined 2003
Paid Member
I still prefer the look of the finished product more when flux has been added.

look can be deceiving

anyhow, if additional application of flux is helping you to solder properly, then use it .... then clean

with time and more mileage in soldering, you'll use flux only for smd work
 
Last edited:
  • Like
Reactions: 1 user
Official Court Jester
Joined 2003
Paid Member
I find that putting the slightest touch of solder on 1 hole,

there is shorter and more proper way, for components totally aligning with pads, thus being loose prior to soldering - either use Patrick's/6L6's trick with paper-tape ......... or do it as Geezers - keep part in place with 1 finger, having pcb in hand and applyu smal blob on solder with iron tip on one pad

then place pcb on the bench and solder second leg then re-do first one

less heating cycles, the better, even with most sturdy components

watching few ootoobe tutorials can be extremely useful, especially those seeing some Geezer doing regular repair job, not especially soldering tutorial

remember - for ooomphteentht time - better to err to bigger tip ( than necessary) , and better to err to higher temp ( than necessary)

you'll be surprised to see Papa's bench - soldering iron size of medium size anvil, cranked to sun surface temp

:clown:


Image13.jpg
 
  • Like
Reactions: 1 user
Official Court Jester
Joined 2003
Paid Member
always think of part and construction benefit ....

in short - best way is not always easiest way

and best way with time often becomes easiest
 
Member
Joined 2023
Hopefully learned a valuable lesson, I had pretty much hit the wall but wanted to get more done, Oops! Skipped a step in the guide of measuring the pots for TP1 and 2 prior to installing. Oh well, after some patient hand holding by @ItsAllInMyHead I'm back on track. Lesson, pace myself and enjoy the journey.
 
  • Like
Reactions: 1 user
Official Court Jester
Joined 2003
Paid Member
when I was young and naïve, I didn't need bloody manual/building guide for amp (and often paid the price for not needing it)

now, when I'm just naïve, if I have properly written manual/guide, combined with worthy schematic ....... I don't even feel the need to build an amp

reading it and re-reading it all and building it mentally is perfectly enough

:clown:

ha!

can you guess how many times I built Papa's/Thagard's A75??
 
  • Like
Reactions: 4 users
Member
Joined 2023
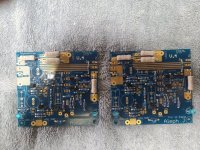
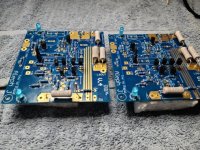
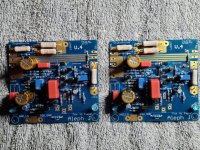
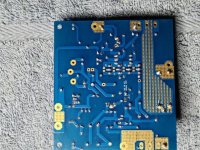
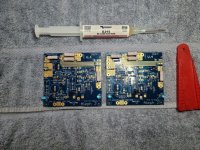
Well, life has a way of getting in the way, here are some photos of the boards prior to mounting to the heat sinks.

20240331_202642 (FILEminimizer).jpg 20240331_202745 (FILEminimizer).jpg 20240331_202827 (FILEminimizer).jpg
 
  • Like
Reactions: 1 users
Top